JackTrip for OS X
Instructions for installing Jack and JackTrip
Installing Jack
Since JackTrip works with Jack, it is important that you download and install Jack before you install JackTrip.
- Download Jack for OS X here.
- Double click on the .pkg file to install.
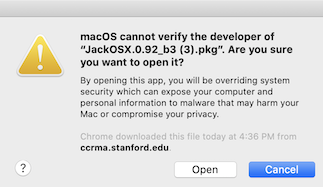
- After you click on the .pkg installation file, you may see the prompt below, depending on your security settings. Click OK and proceed to Steps 4 & 5.
- Press the Command and Spacebar keys, type “Security & Privacy” and click Open Anyway towards the bottom:
- Click Open at this prompt:


Installing JackTrip
- If you are running mac OSX High Sierra, Mojave, Catalina or Big Sur, download the JackTrip 1.2.1 installer package.
On older OS X releases, download the JackTrip 1.1 installer - Follow the directions to install. If you encounter a prompt saying the .pkg file cannot be opened because it is from an unidentified developer, follow Steps 3-5 of the Jack installation instructions above.
Running JackTrip after Installation
MAC OS X Big Sur
This operating system is not in wide enough use. We do not have a tested procedure yet for this version of MacOS X, so you may wish to try the instructions for MacOS X Catalina, with the understanding that these instructions have not yet been tested.
MacOS X Catalina
Running Jack
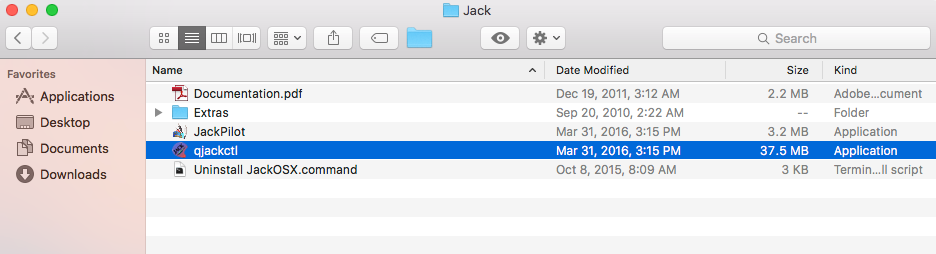
- Jack has a GUI program call qjackctl. It can be found in the Applications folder for Jack. Open the program:
- Click on the Setup… button. You should see the Setup window:
- In the Setup window, select coreaudio for the Driver. You can also change the values for Frames/Period and the Sample Rate. Also note the Server Path. This may be important if there is an error. See below.
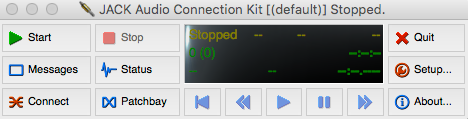
- Say Okay and then click the Start button. If Jack started, it should look like this:
The QJackCtl program looks like this:


Running JackTrip
- Open terminal window (Finder > Utilities > Terminal)
- To quit JackTrip:
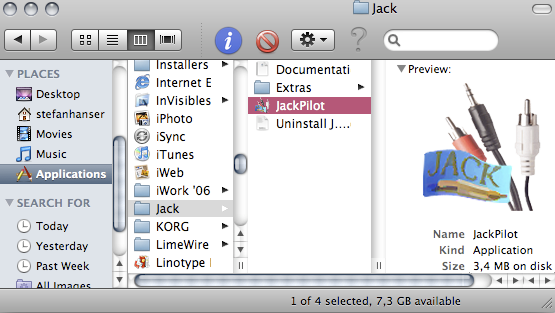
- Launch JackPilot (found in the Jack Folder inside Applications in Finder)
- Launch QJackCTL (also found in the Jack Folder inside Applications in Finder)
- Configure the settings in QJackCTL according to your desired connection settings by clicking the “Setup” button
- Click the Start button in QJackCTL
- Click start in the JackPilot window
- Open terminal window (Finder > Utilities > Terminal)
- To quit JackTrip:
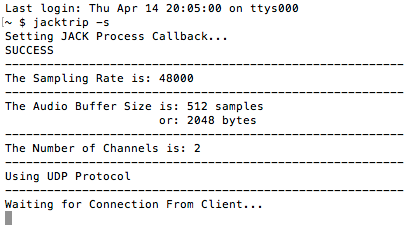
In the terminal Window, type “Jacktrip -C (IP address of your server)”
i. In the terminal window, type ctrl-c
ii. Click ‘stop’ in the Jack Audio Connection Kit window (also known as QJackCTL)
MacOS X Mojave
The QJackCtl program looks like this:
In the terminal Window, type “Jacktrip -C (IP address of your server)”
i. In the terminal window, type ctrl-c
ii. Click ‘stop’ in the Jack Audio Connection Kit window (also known as QJackCTL)